

Parents have many ninja skills we never knew we’d develop. Creative gift giving is a skill every parent must master to make it through the rearing of children. Ever wonder why grandparents always have the best, most innovative ideas? Practice. Years and years of experience. If it takes 1,000 hours to master a skill, our parents are Sensei. One day, you’ll be there too.
But in the meantime, the ability to make professional looking gift baskets will enhance your gift giving prowess and your creativity. Between teacher gifts, silent auctions, Christmas presents, and all the other events that happen during the year, gift baskets can take so much pressure off finding the ‘perfect gift.’
Luckily, making a gift basket is easy! I did not inherit the creative gene in my family, but even I can rock the gift basket. Here are 6 simple steps for making a great gift!
Pick a theme
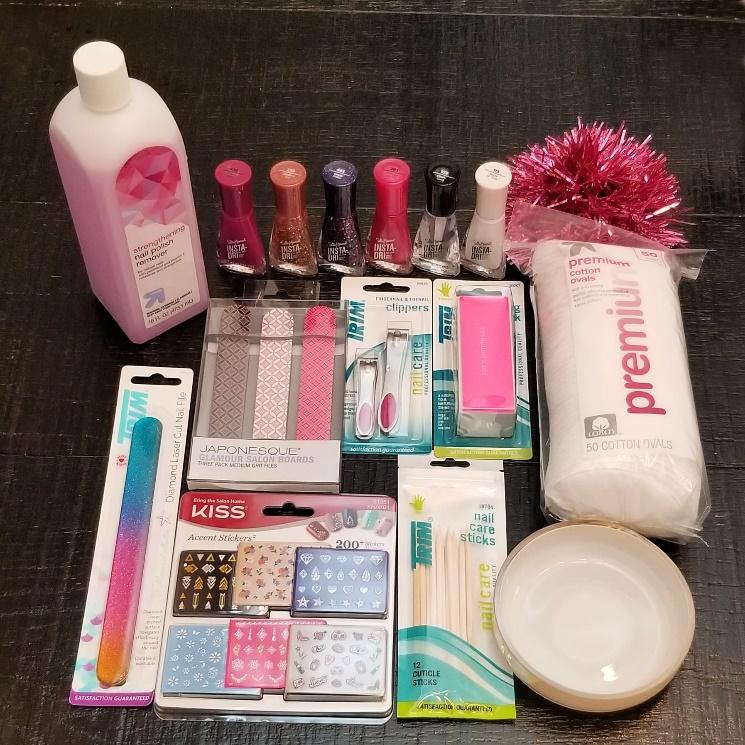
The options for your theme are unlimited and depend on the occasion and who the gift is for. Last year for Christmas I made a Movie Night basket. The year before I made a coffee basket. For this article, I put together a Nail Care basket that I will give my 7-year-old for Christmas this year. You can Google gift basket ideas and sift through the billions of ideas people have shared on the internet. Or pick up a book like this one at Amazon.
Shop for gifts
Shopping for gifts is so much easier when you have a theme. For the Movie Night basket last year, I gave everyone a fluffy, snuggly blanket, movie candy, popcorn, and a Red Box rental code. This nail basket took about 10 minutes to shop for items. Seriously, this is my favorite reason for making gift baskets!
Pick a basket
The basket is essential, clearly, but not as important as you might think. It just has to hold the stuff. When I made the Movie Night basket, I actually used large popcorn bowls. If there is something that will fit the theme, use it! Otherwise, you can pick up baskets at any craft store, sometimes at Target, or you can repurpose baskets and items you have around the house. Any basket will work, but for the most professional look, you’ll want a basket that has a tall handle. This will help tremendously when you wrap your gift basket.
Gather materials
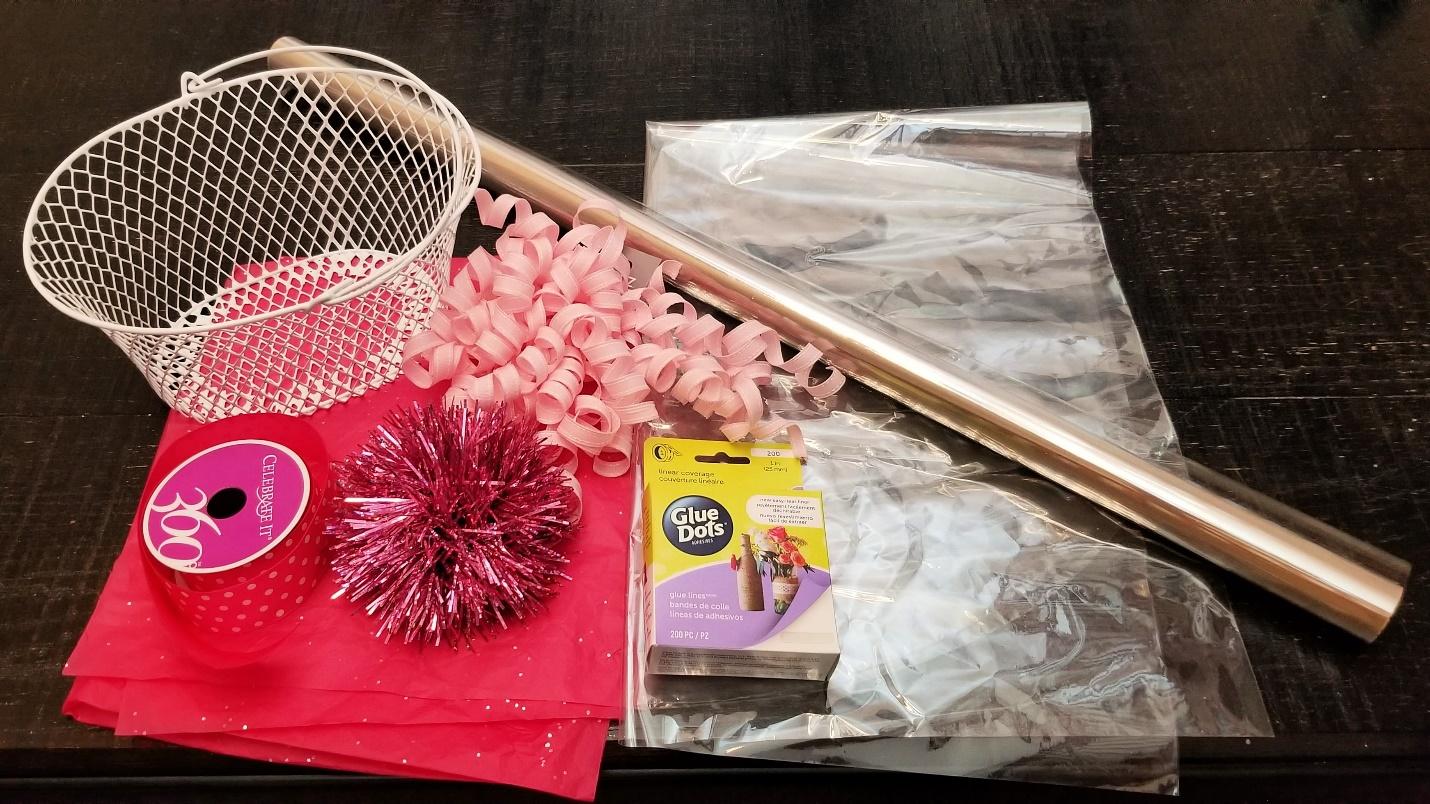
Once you have your basket and the items to go in it, you’ll need to gather the rest of your materials. You’ll need:
Tissue paper
Ribbon or bow
Rubber band
Scissors
Glue Dots (optional)
Cellophane or gift wrap (see below)
Arrange items in the basket
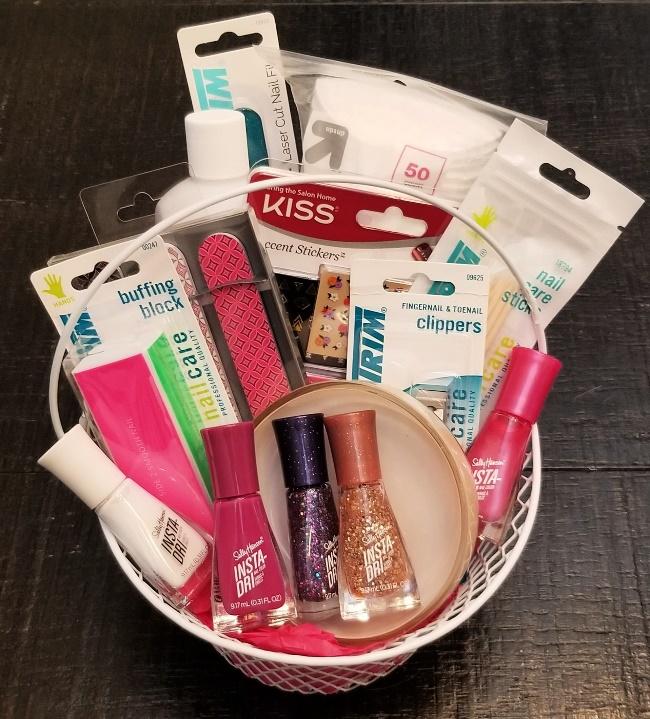
Next is the fun part, but often where mental blocks stretch out the process. Don’t fall into the trap overthinking about how to arrange the items. First, wad up some tissue paper and place it in the bottom of the basket. Then start with the largest things and place them in the middle toward the back of the basket. Then just start putting other items in and arranging them so you can see at least a little of everything.
It’s okay if you can’t see every label. It’s okay if some items are covering up others. If you need something to be higher, shove some more tissue paper under it. If you want something tilted a certain way and it just won’t stay, that’s where the glue dots come in handy. I find that the best way to do this is quick. Get all the items in the basket, then tweak them until you are satisfied.
Use cellophane or shrink wrap and top with a bow
There is a difference between cellophane and shrink wrap. The difference is whether you want a loosely wrapped basket or a tightly wrapped one. Covering your basket up in the clear plastic wrap will make your basket look great even if it isn’t shrink wrapped. In the photo below, you can see the basket wrapped in the plastic wrap before I applied the heat. The plastic is loose, but it still looks great. You could add a bow and be done! If you’d like a more professional look, make sure you get shrink wrap that is designed to take the heat. Otherwise, you’ll melt a lot of holes in your cellophane. I suggest using shrink wrap bags or cellophane bags. These make it really easy to place your basket inside.
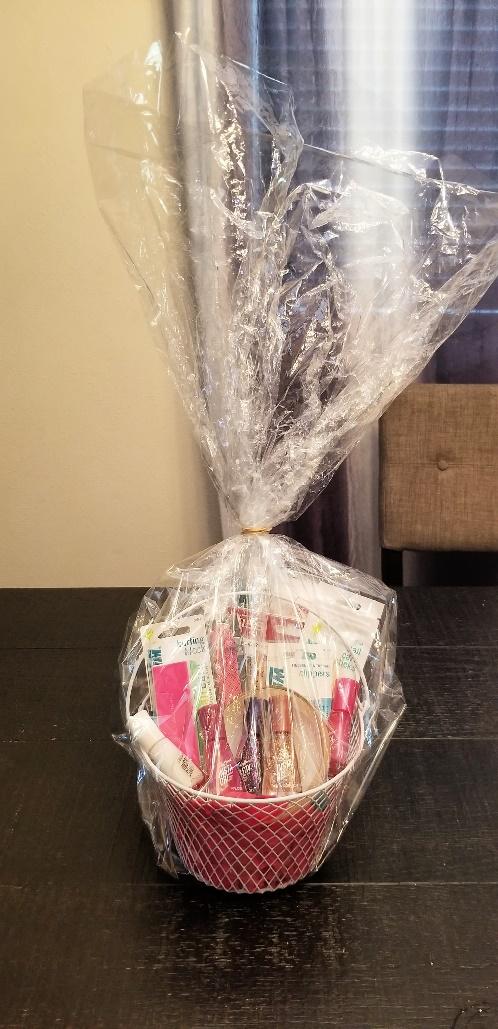
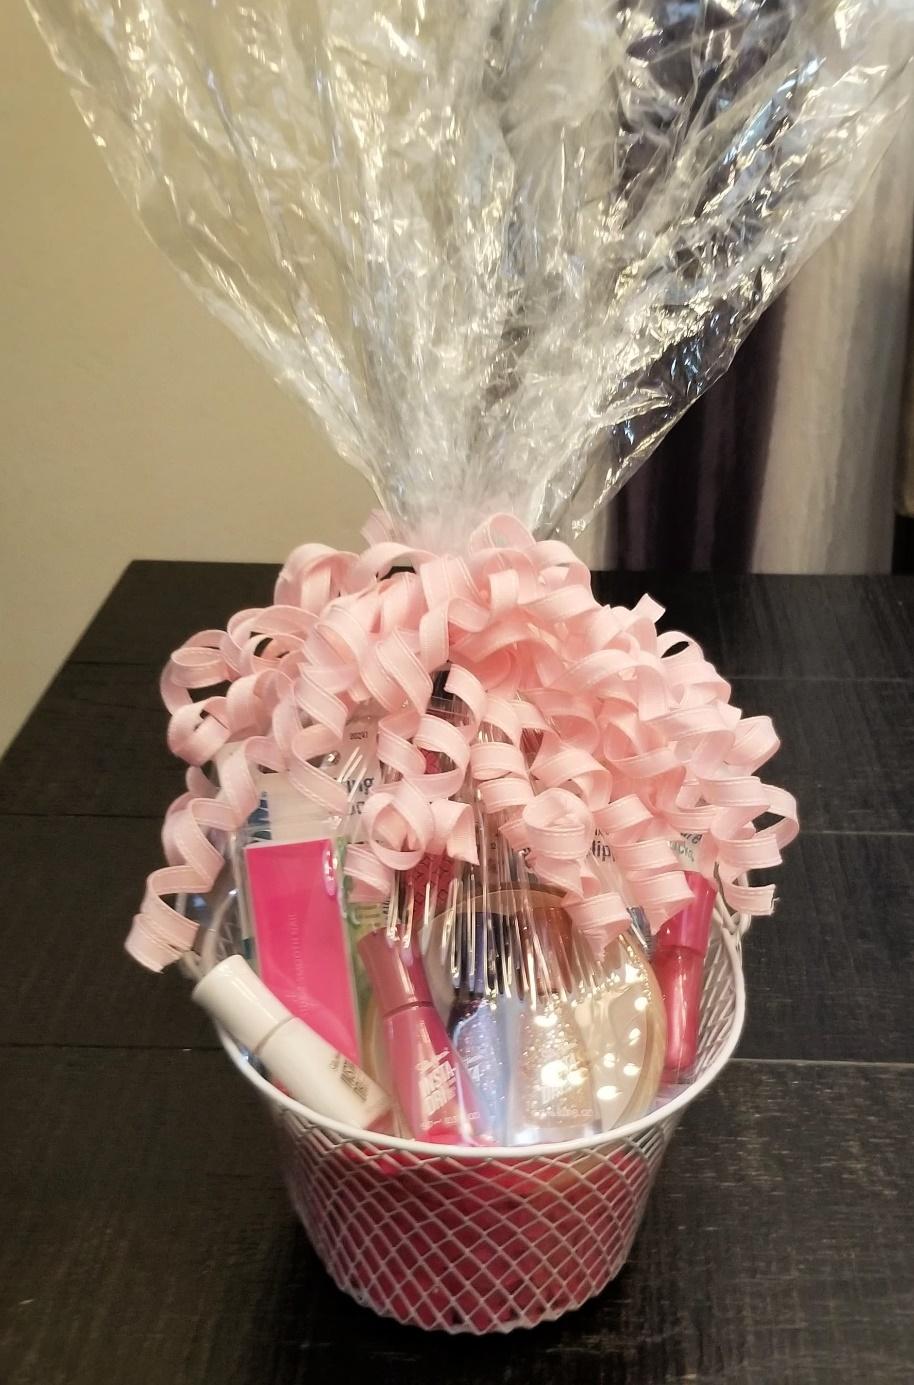
If you have a basket that has a tall handle, then you’ll want to gather the plastic at the top. Use a rubber band to keep the bag closed for now. If using shrink wrap, you can use a hair drier to finish the wrap. Start at the bottom and work your way up to where the rubber band is. Once you do this for the first time, you’ll see how easy it is! Finish it by placing a ribbon or bow around the rubber band.
If you have a basket without a handle, you may want to shrink wrap it upside down. Place the basket inside the bag with the sealed part on top. Cut the excess off and tape the bottom together. It will be more awkward to shrink wrap this way, but still start at the bottom and don’t let it shrink so much the edges disappear. Just heat it enough for the plastic to stick together. Then use your hair dryer to shrink wrap the rest of the basket. No bow needed for this type!
While the idea of making a gift basket can be daunting, it is not as hard as it seems. Once you’ve done it two or three times, it’ll be a ninja skill you’ll use at least once a year, and you can revel in the compliments you’ll receive while chuckling inside at how easy it really is.